This guide shows Nepali citizens how to claim a free, lifetime .com.np domain from register.com.np, set up powerful DNS with Cloudflare, and seamlessly deploy web projects (including subdomains!) to Netlify. Go live, for free!
How to Get Your Free Nepali Lifetime Domain (from register.com.np), Host it on Cloudflare, and Deploy to Netlify
Are you a Nepali citizen looking to establish your online presence with a personalized domain name, perhaps for your portfolio, blog, or a personal project? Did you know that the Nepali company register.com.np offers a unique opportunity for Nepali citizens to register a domain name under their legal name (e.g., yourname.com.np) with lifetime validity, completely free of charge?
This is an incredible benefit! However, once you have your domain, the next steps of connecting it to a powerful DNS service like Cloudflare and then linking it to a modern hosting platform like Netlify can seem a bit daunting. This guide will walk you through the entire process, step-by-step.
We’ll cover:
- Getting your free lifetime
.com.npdomain fromregister.com.np. - Setting up Cloudflare as your robust DNS manager.
- Connecting your Cloudflare-managed domain to your Netlify project for seamless deployment.
Let’s dive in!
Part 1: Registering Your Free Lifetime .com.np Domain (via register.com.np)
The process of acquiring your yourname.com.np domain is straightforward:
Follow this guide:- How to Register .com.np Domain in 2025 (Updated Method)
- Visit
register.com.np: Go to the official website:https://register.com.np/ - Check Domain Availability: Use their search tool to see if your desired domain (e.g.,
golden-medovik-b184db.com.np) is available. Remember, these domains are typically granted based on your legal name. - Follow Registration Steps: The website will guide you through the registration process. You’ll likely need to provide official identification documents (like your Nepali Citizenship Certificate) to verify your identity and legal name.
- Verification and Activation: After submission,
register.com.npwill review your application. Once approved, your domain will be registered and become active. They will also provide you with initial nameservers (which you’ll soon change to Cloudflare’s).
Congratulations! You now own a lifetime, free .com.np domain.

Part 2: Hosting Your Domain on Cloudflare (for Advanced DNS Management)
While register.com.np provides basic DNS, Cloudflare offers a free plan with powerful features like a Content Delivery Network (CDN), DDoS protection, SSL/TLS encryption, and advanced DNS management. This makes it an ideal choice for hosting your domain’s DNS.
Step 2.1: Changing Nameservers at register.com.np
This is the first crucial step to integrate Cloudflare. You need to tell register.com.np that Cloudflare will be managing your domain’s DNS.
- Sign Up for Cloudflare: If you don’t have one, create a free account at
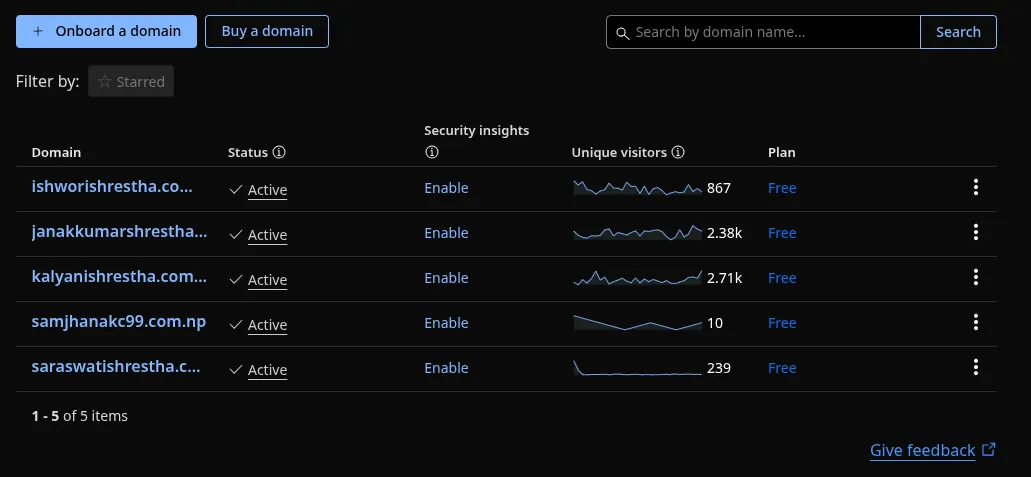
https://www.cloudflare.com/. - Add Your Site: In your Cloudflare dashboard, click “Add a Site” and enter your new
.com.npdomain (e.g.,ishworishrestha.com.np). - Select a Plan: Choose the “Free” plan.
- Review DNS Records (Cloudflare): Cloudflare will scan your domain’s existing DNS records. Just click “Continue.” You’ll configure the important ones later.
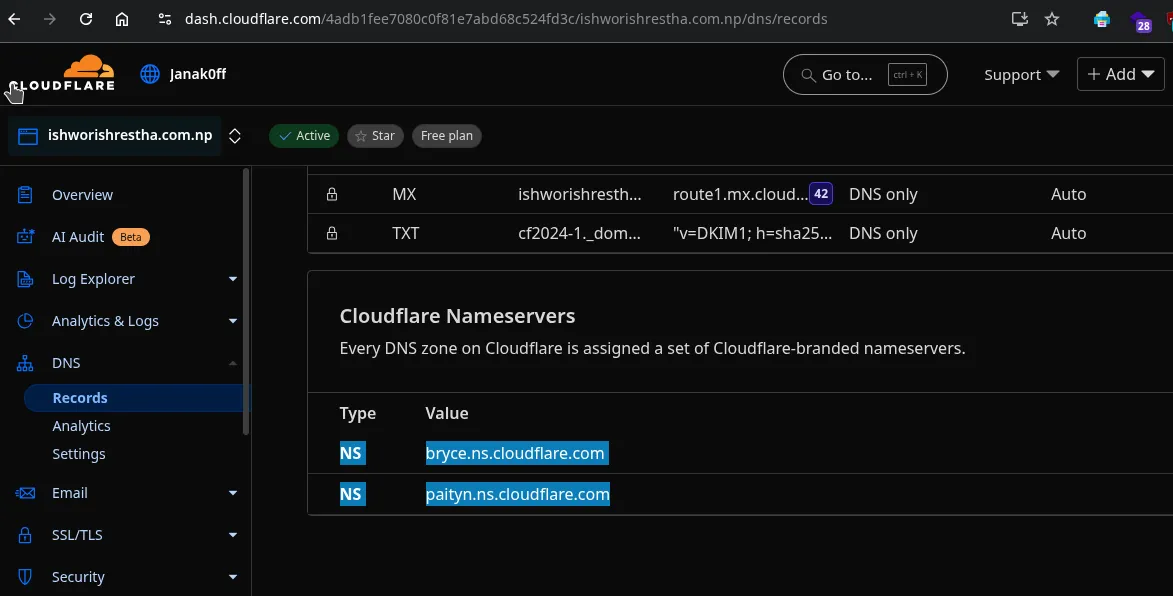
- Get Cloudflare Nameservers: Cloudflare will then present you with two specific nameservers (e.g.,
bryce.ns.cloudflare.comandpaityn.ns.cloudflare.com). Make a note of these!
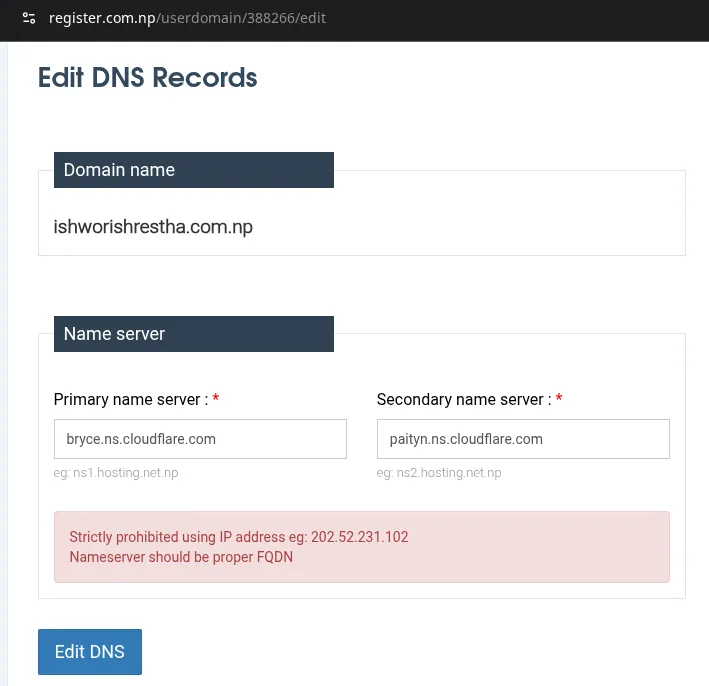
- Log in to
register.com.np: Access your domain management portal athttps://register.com.np/userdomain/YOUR_DOMAIN_ID/edit(or navigate through their dashboard). - Update Nameservers: Locate the “Name server” section. You’ll see fields for “Primary name server” and “Secondary name server.”
- Replace the existing nameservers with the two Cloudflare nameservers you copied.
- Example from your screenshot: You would update
bryce.ns.cloudflare.comandpaityn.ns.cloudflare.comhere. - Click “Edit DNS” or “Save Changes.”
- Verify Nameservers in Cloudflare: Go back to your Cloudflare dashboard. It might take some time (up to a few hours, but usually faster) for the nameserver changes to propagate. Cloudflare will eventually detect the change and show your domain as “Active.”
Part 3: Linking Your Cloudflare-Managed Domain to Your Netlify Project
Now that Cloudflare is managing your domain’s DNS, you can connect it to your Netlify project. This is done by adding specific DNS records in Cloudflare.
Step 3.1: Add Your Custom Domain in Netlify
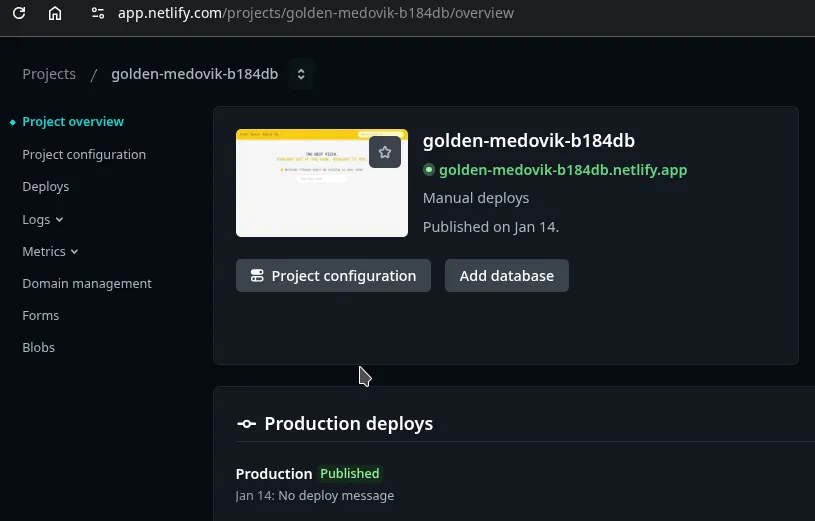
- Deploy Your Project to Netlify: Ensure your project is already deployed and visible on a Netlify-generated URL (e.g.,
golden-medovik-b184db.netlify.app).
-
Go to Netlify Domain Management:
- Log in to your Netlify dashboard (
https://app.netlify.com/). - Navigate to your specific project (e.g.,
golden-medovik-b184db). - In the left sidebar, click on “Domain management.”
- Log in to your Netlify dashboard (
-
Add Your Custom Domain:
- Under “Production domains,” click “Add domain.” and “Add a domain you already own.”
- Enter your
.com.npdomain (e.g.,ishworishrestha.com.np) and click “Verify.” - Click
Add domain
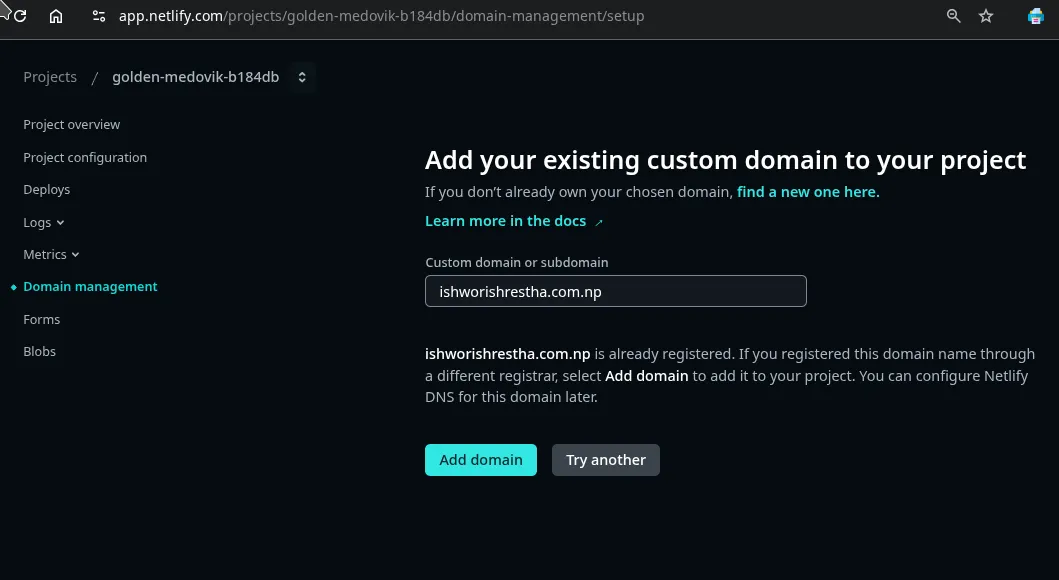
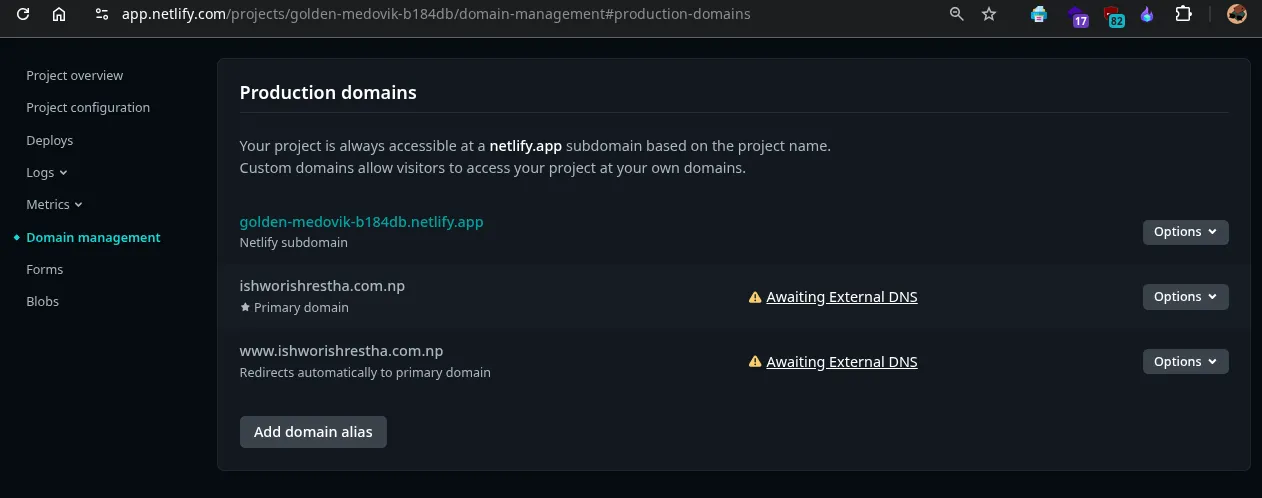
- Your domain will show “Awaiting External DNS” here.
-
Click on both
Awaiting External DNSand note a value likeishworishrestha.com.np ALIAS apex-loadbalancer.netlify.comandwww CNAME golden-medovik-b184db.netlify.app.
-
Get Netlify DNS Instructions:
- Netlify will prompt you to update nameservers or configure DNS. Crucially, do NOT update nameservers at your registrar again; you’ve already pointed them to Cloudflare.
- Instead, look for the option to configure DNS records manually or click on the “Awaiting External DNS” status for your domain.
- You will see instructions. Netlify will provide a target for your apex (root) domain, which is typically
apex-loadbalancer.netlify.com, and your site’s Netlify subdomain (e.g.,golden-medovik-b184db.netlify.app) for thewwwsubdomain.
Step 3.2: Add DNS Records in Cloudflare
This is where you tell Cloudflare to direct traffic for your domain to your Netlify project.
-
Go to Cloudflare DNS Records:
- Log in to your Cloudflare dashboard.
- Select your
ishworishrestha.com.npdomain. - Go to “DNS” > “Records.”
-
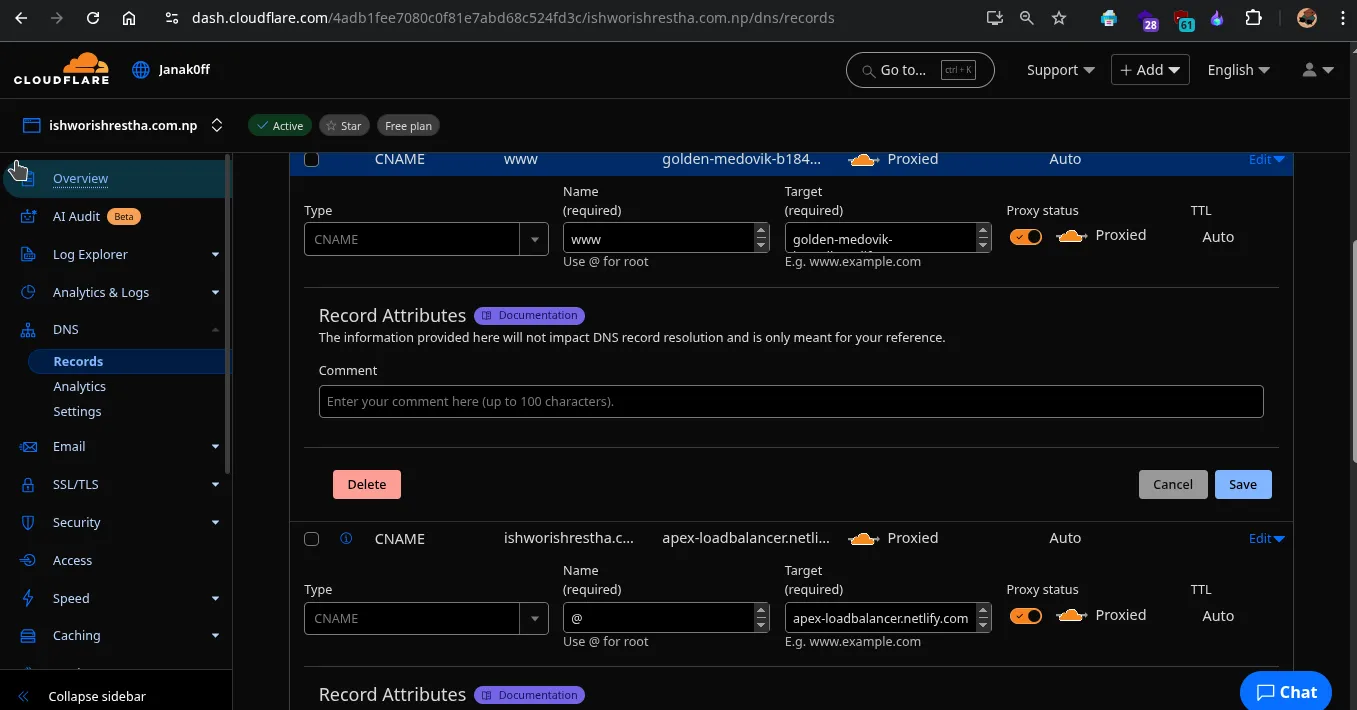
Add CNAME for the Root Domain (
ishworishrestha.com.np):- Type:
CNAME - Name:
@(Cloudflare recognizes this as your root domain) - Target:
apex-loadbalancer.netlify.com - Proxy status: Make sure the cloud icon is orange (Proxied). This ensures Cloudflare’s CDN and security features work.
- Click “Save.”
Why CNAME to
apex-loadbalancer.netlify.com? This is the recommended and most robust method. It points your domain to Netlify’s dynamic load balancer, so if Netlify changes its underlying IPs, your site will continue to work without manual updates. - Type:
-
Add CNAME for the
wwwSubdomain (www.ishworishrestha.com.np):- Type:
CNAME - Name:
www - Target: Your unique Netlify-generated subdomain (e.g.,
golden-medovik-b184db.netlify.app). You can find this on your Netlify project’s domain management page. - Proxy status: Make sure the cloud icon is orange (Proxied).
- Click “Save.”
- Type:
Summary of what your Cloudflare DNS records for ishworishrestha.com.np should look like:
| Type | Name | Content | Proxy Status |
|---|---|---|---|
| CNAME | @ | apex-loadbalancer.netlify.com | Proxied (Orange Cloud) |
| CNAME | www | golden-medovik-b184db.netlify.app | Proxied (Orange Cloud) |
| (Any existing records like MX, TXT, NS will remain) | … | … | … |
- Clean Up (Optional but Recommended):
- If you had any existing
Arecords for your root domain (likeishworishrestha.com.nppointing to an IP address) from previous attempts, delete them now. The CNAME toapex-loadbalancer.netlify.comreplaces that.
- If you had any existing
Part 4: Ensure SSL (HTTPS) Works
-
On Netlify:
- Go to Site settings → Domain Management → HTTPS
- Enable Automatic HTTPS (Let’s Encrypt) if not already
-
On Cloudflare:
- Go to SSL/TLS → Overview
- Set SSL mode to Full or Full (Strict)
Part 5: Verify and Go Live!
- Wait for DNS Propagation: After adding these records in Cloudflare, it usually takes a few minutes to an hour for the changes to propagate globally.
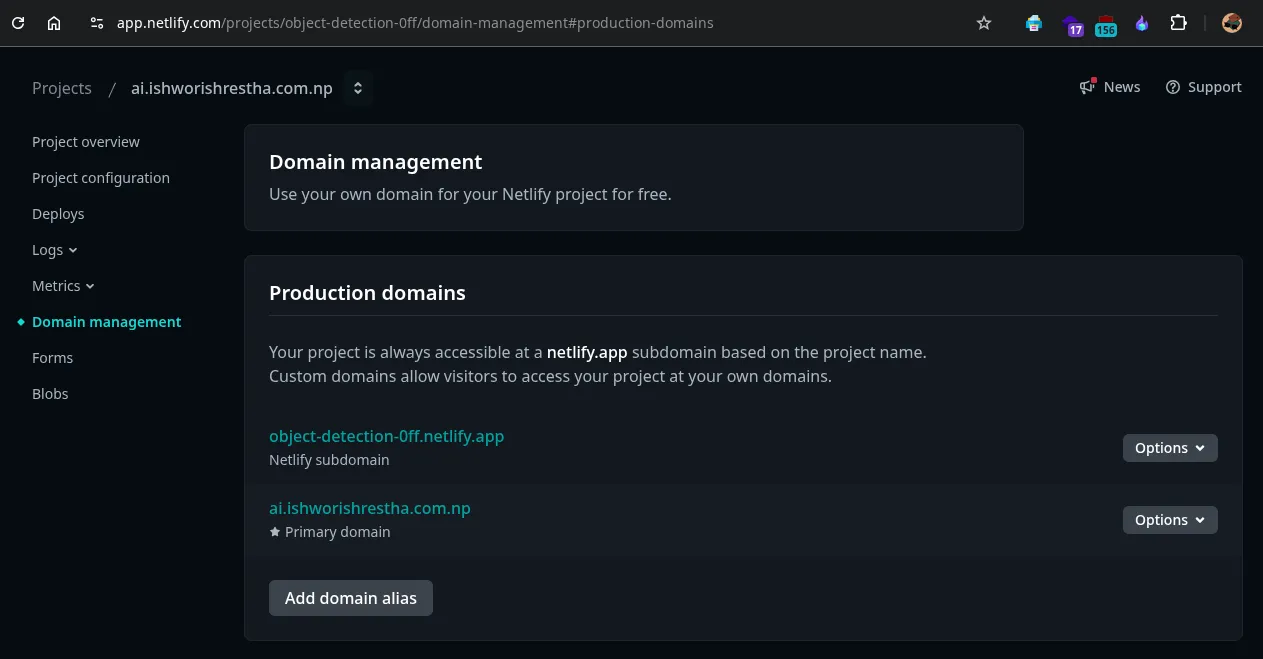
- Check Netlify Status: Go back to your Netlify project’s “Domain management” section. The “Awaiting External DNS” status for
ishworishrestha.com.npandwww.ishworishrestha.com.npshould eventually change to “DNS Verified” or “Ready.” Netlify will then automatically provision an SSL certificate for your custom domain, making your site secure (https://).
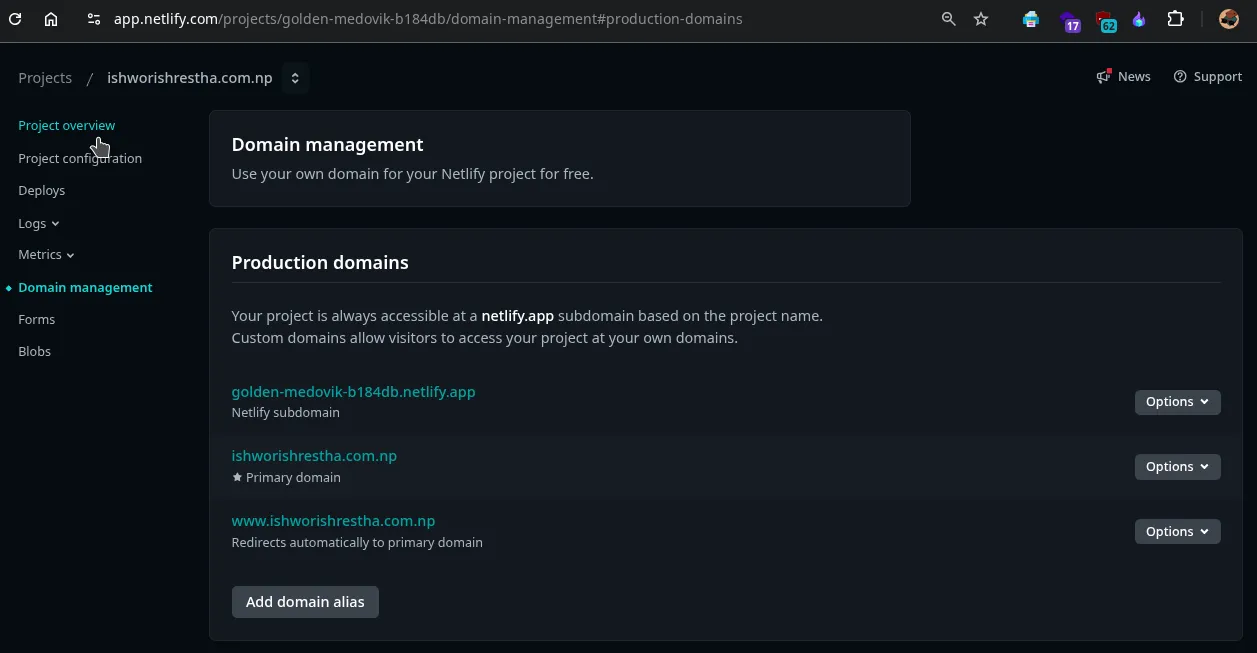
- Test Your Domain: Open your browser and type in
ishworishrestha.com.npandwww.ishworishrestha.com.np. Both should now lead to your Netlify-hosted project!
Adding subdomain to Netlify hosted project.
- Go to your site on Netlify
- Navigate to:
Site settings → Domain Management → Add a domain -> Add a domain you already own - Click Add a domain you already own”
- Enter your sub domain:
ai.ishworishrestha.com.np - Click Verify, then Add domain
Point DNS from Cloudflare to Netlify
-
Go to your domain in Cloudflare Dashboard
-
Go to the DNS tab
-
Add a new CNAME record:
Type Name Target TTL Proxy CNAME ai object-detection-0ff.netlify.app.Auto ✅ ON - Replace
object-detection-0ff.netlify.app.with your actual Netlify subdomain (found on your Netlify dashboard). Nameisai, not the full domain.
- Replace
Verify Domain Ownership with Netlify via Cloudflare (if needed)
Netlify needs to verify that you own the domain ishworishrestha.com.np before it allows you to add a subdomain like ai.ishworishrestha.com.np.
ai.ishworishrestha.com.np is an alias of object-detection-0ff.netlify.app and has its traffic proxied through Cloudflare.
To verify ownership using Cloudflare DNS, follow these steps:
Copy TXT Record from Netlify
From Netlify:
- Host:
netlify-challenge - Value:
your-value
Add TXT Record in Cloudflare
-
Go to Cloudflare Dashboard
-
Select your domain:
yourdomain.com.np -
Go to the DNS tab
-
Click “Add record”
-
Choose:
- Type:
TXT - Name (Host):
netlify-challenge - Content (Value):
your-value - TTL: Auto
- Type:
-
Click Save
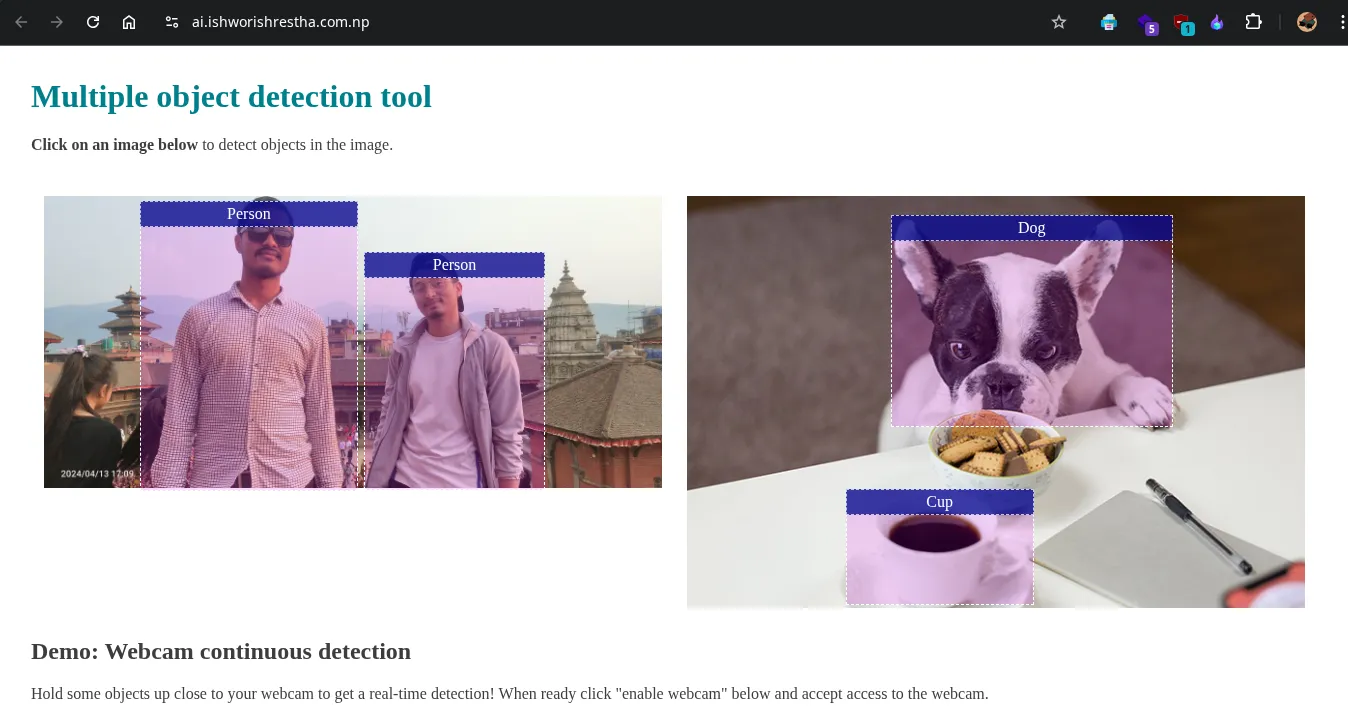
STEP 5: Test Your Domain
https://ai.ishworishrestha.com.np/
Conclusion
By following these steps, you’ve successfully leveraged register.com.np for a free lifetime domain, utilized Cloudflare for advanced DNS and CDN benefits, and connected it all seamlessly to your Netlify-hosted project. You now have a professional, fast, and secure online presence.