Set up a LAMP stack (Linux, Apache, MariaDB/MySQL, PHP) with phpMyAdmin on Debian step by step.
🔹 Install Apache Web Server
sudo apt install apache2 -yEnable and start:
sudo systemctl enable apache2
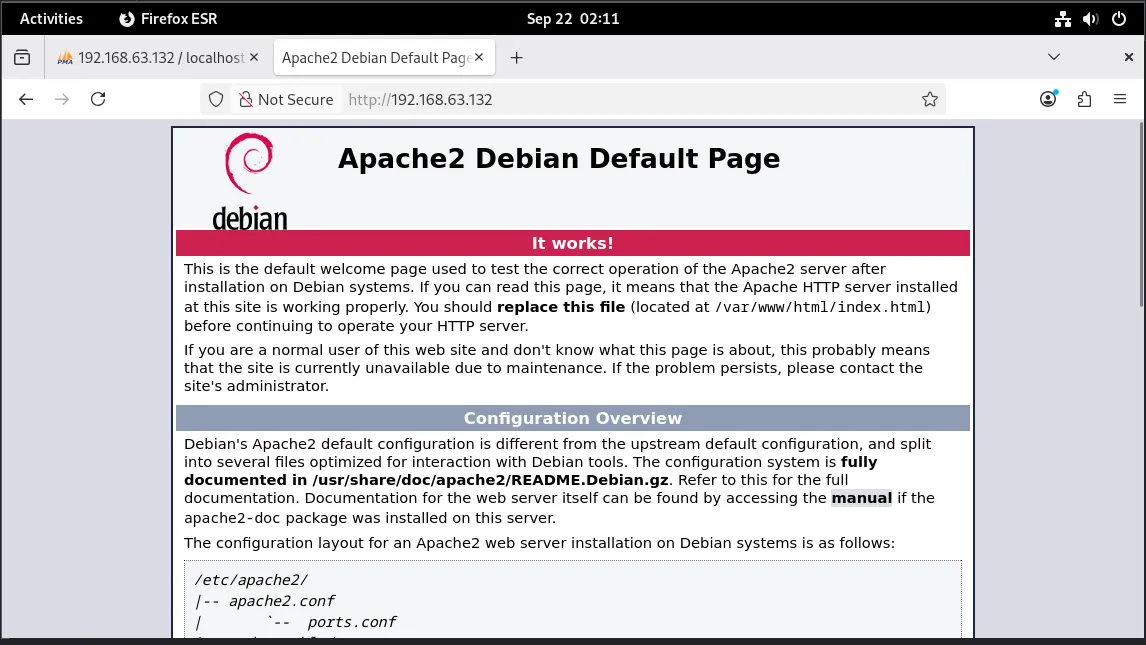
sudo systemctl start apache2Test: Open http://192.168.63.132 in a browser. You should see the Apache default page.
🔹 Install MariaDB (or MySQL)
sudo apt install mariadb-server -ySecure the installation:
sudo mysql_secure_installation- Set root password
- Remove anonymous users
- Disallow root login remotely
- Remove test database
- Reload privileges
👉 Login to test:
sudo mariadb -u root -pmariadb→ start the MariaDB client (command-line tool)-u root→ log in as the root user-p→ ask for the password
🔹 Install PHP
sudo apt install php libapache2-mod-php php-mysql -ylibapache2-mod-php→ lets Apache run PHP filesphp-mysql→ allows PHP to talk to MySQL/MariaDB
Check PHP version:
php -v🔹 Install phpMyAdmin
sudo apt install phpmyadmin -yDuring installation:
- Choose
apache2when asked for web server. - Select “Yes” to configure database for phpMyAdmin.
- Set a password for phpMyAdmin.
Enable phpMyAdmin in Apache
On Debian, the installer does not always add the config automatically. You need to enable it:
sudo ln -s /etc/phpmyadmin/apache.conf /etc/apache2/conf-enabled/phpmyadmin.confThat command creates a symbolic link so Apache knows about phpMyAdmin’s configuration.
ln -s→ makes a symlink (shortcut)/etc/phpmyadmin/apache.conf→ the original phpMyAdmin config file/etc/apache2/conf-enabled/phpmyadmin.conf→ where Apache looks for enabled configs
Then reload Apache:
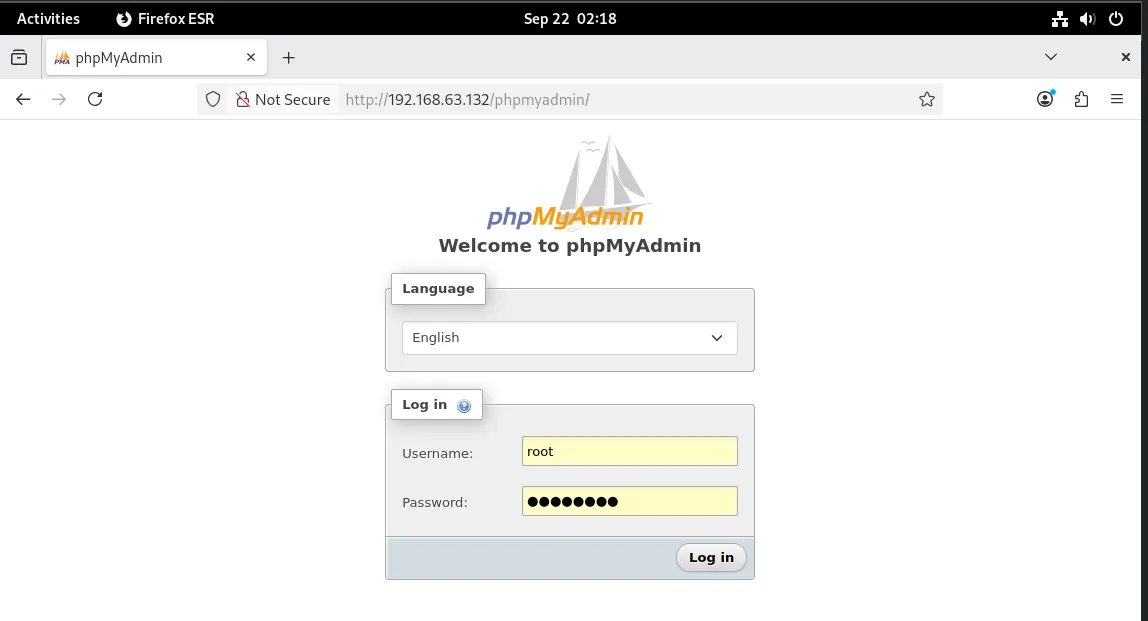
sudo systemctl reload apache2🔹 Access phpMyAdmin
Open in browser:
http://192.168.63.132/phpmyadminLogin with MariaDB username/password.